

PC Engine GT / TurboExpress Recap: Replace Original Capacitors
The NEC PC Engine GT—sold as the TurboExpress in North America—is a superb little handheld, but its original electrolytic capacitors are now one of its biggest preservation risks. A console can still power up and play while those capacitors are deteriorating or beginning to leak underneath, where the damage is not visible from the outside.
The short answer
If a PC Engine GT or TurboExpress is still on its original capacitors, I recommend a full recap as preventative maintenance—even if the console currently works.
That is not because a recap magically cures every fault. It is because these particular handhelds have a well-established history of capacitor deterioration and leakage, and cleaning the board before corrosion advances is considerably safer than repairing damaged pads and tracks afterwards.
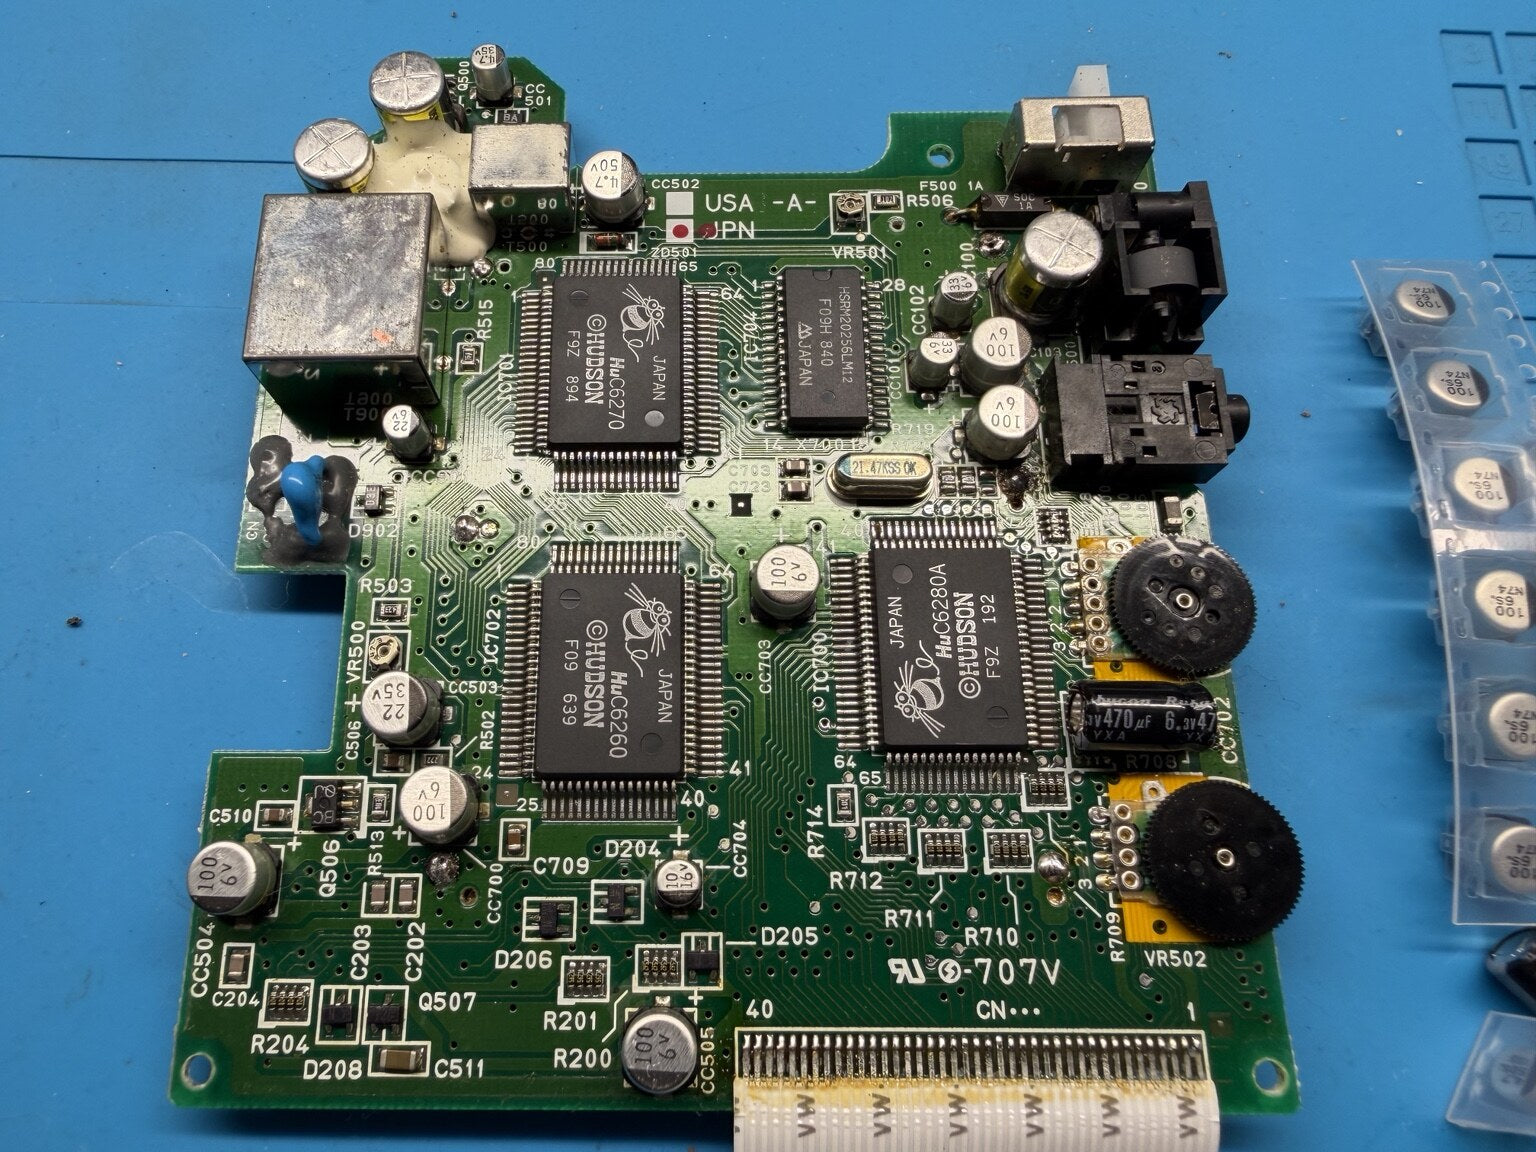
Can you tell the before and after photographs apart?
Yes. The difference is not simply that the replacement capacitors look newer. The important change is what has happened underneath them: every old capacitor has been removed, the solder pads have been exposed and cleaned, and the surrounding PCB has been inspected before a replacement part is fitted.
Why original PC Engine GT capacitors are a concern
Electrolytic capacitors contain an electrolyte that changes with age. In the PC Engine GT/TurboExpress, the original surface-mount parts are particularly well known for leaking. That residue is not just untidy: it can contaminate solder joints, darken or weaken pads and begin attacking the copper tracks beneath the board coating.
Independent technical documentation for the platform also treats capacitor replacement as important preventative maintenance on original-cap units. The exact day a particular component will fail cannot be predicted, so I avoid claiming that every working console is about to stop. The practical point is that these handhelds are now more than three decades old, the failure pattern is established, and waiting for obvious symptoms can allow avoidable board damage to develop.
That is why I am happy to recap a working example. On a valuable handheld, prevention is often the better outcome: preserve a clean board rather than wait until the repair also needs pad reconstruction or trace work.
Common capacitor-related symptoms
- Low, distorted, crackling or completely missing sound
- A dim, unstable, discoloured or absent picture
- Visible vertical video banding, often described as “jail bars”
- Intermittent behaviour or faults that change as the console warms
- Unreliable power or a console that will not start correctly
- A console that still works normally but retains its original capacitors
These symptoms are not proof that capacitors are the only fault. The original LCD, backlight circuitry, regulators, damaged tracks, connectors and custom ICs can create overlapping symptoms. A professional recap should therefore include inspection and testing, not just a bag of parts and a soldering iron.
What I do during a full PC Engine GT recap
1. Careful dismantling and initial inspection
I dismantle the console fully enough to access the motherboard and front control/keypad board correctly. Before replacing anything, I inspect the board for previous repair work, leakage, discoloured pads, corrosion, missing components and disturbed tracks. This is also where incomplete previous work often becomes apparent.
2. Remove the old capacitors without sacrificing the pads
The objective is to remove each ageing capacitor while putting as little mechanical and thermal stress as possible into the PCB. Pads already weakened by leaked electrolyte need particular care. Speed is not the priority on a rare console; preserving the original board is.
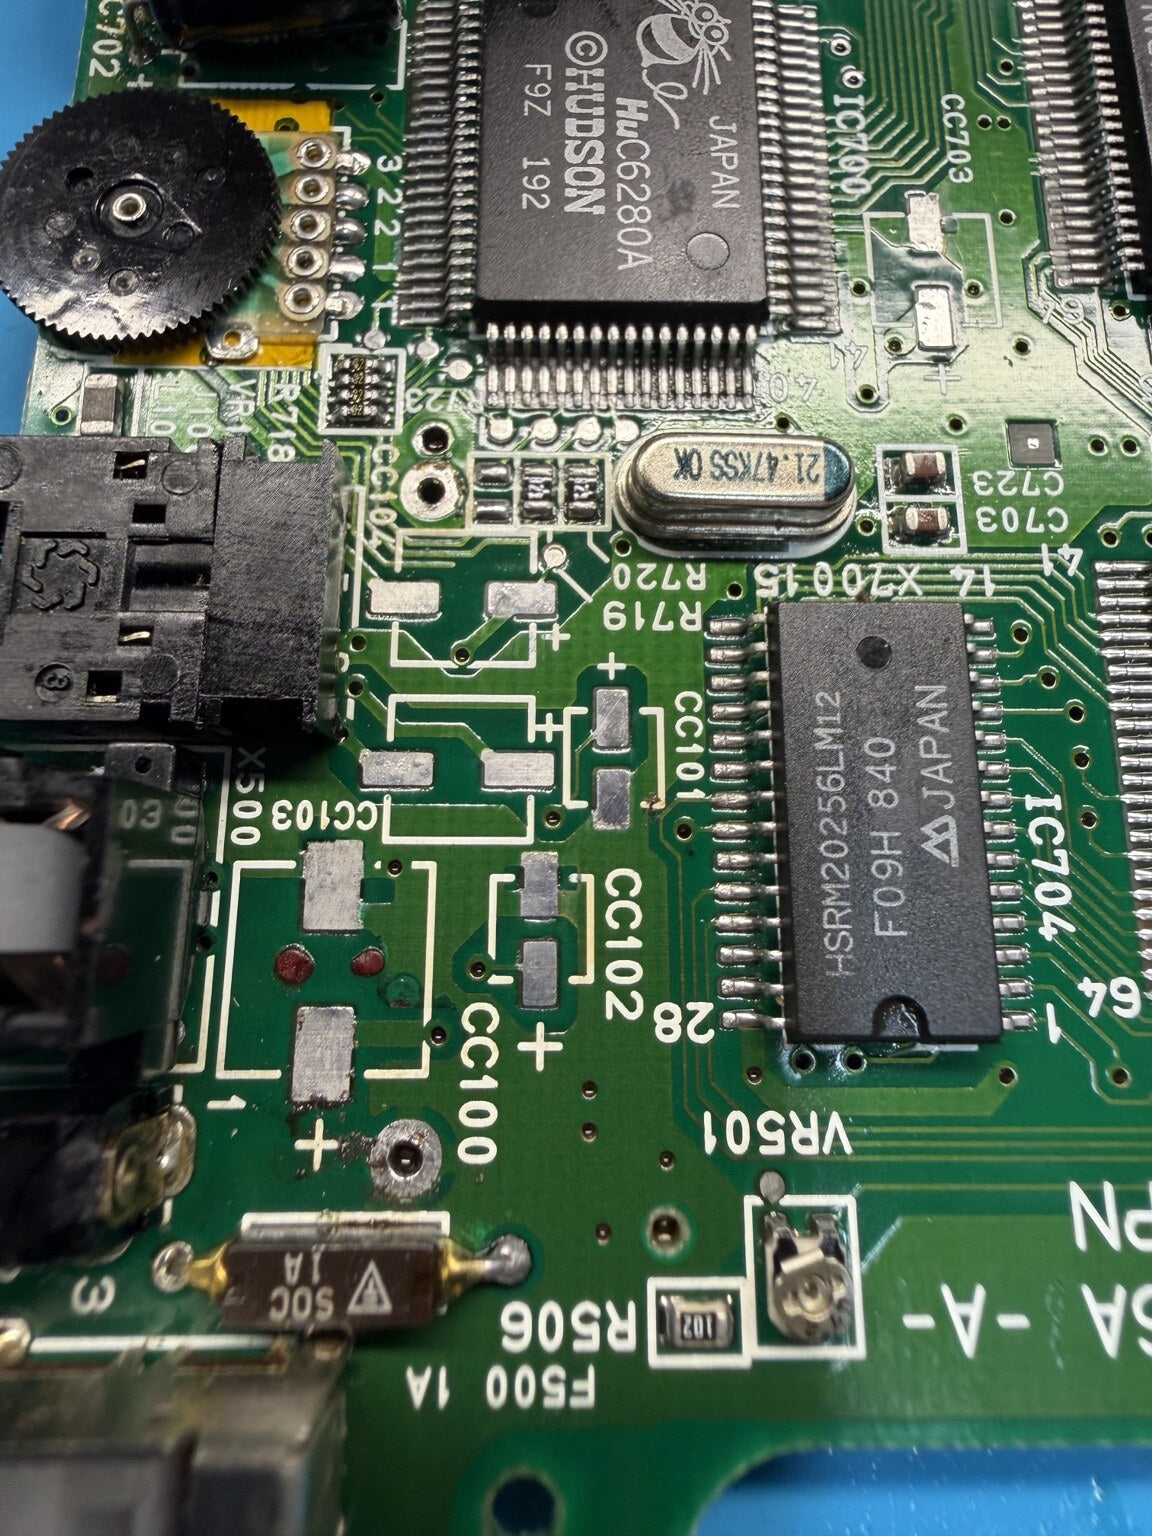
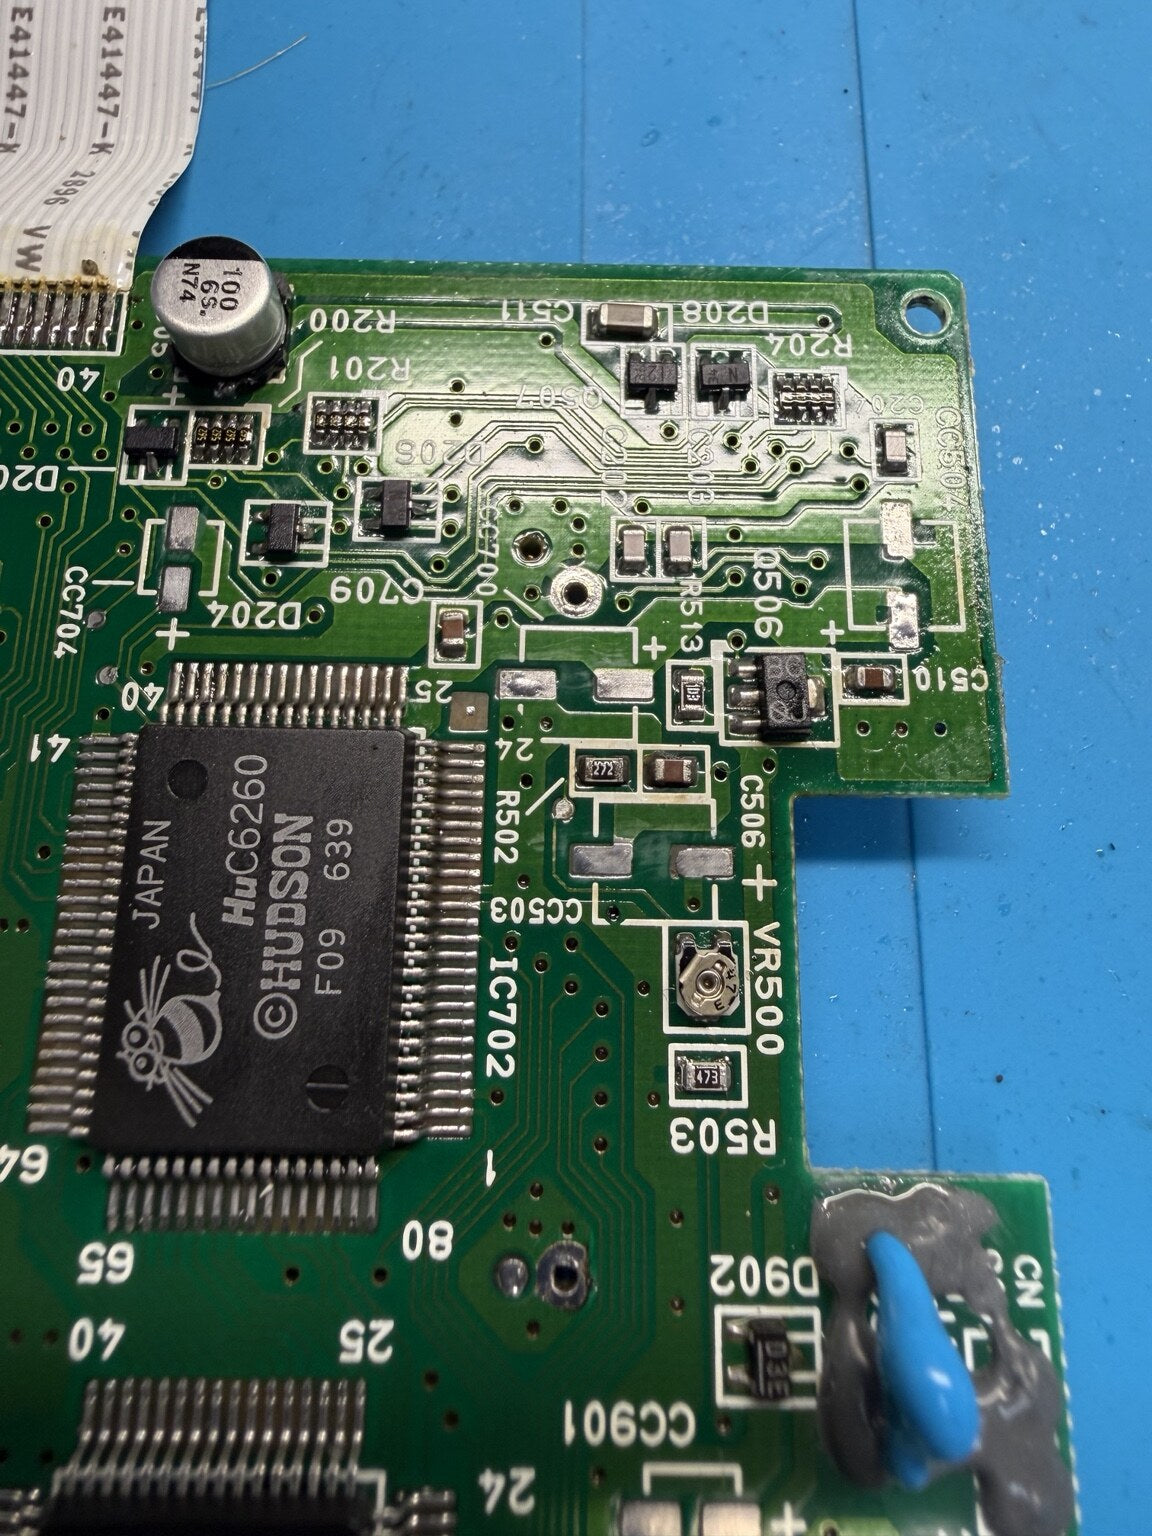
3. Clean every pad before fitting the new parts
This is the stage the close-up photographs show particularly well. Once the old components are removed, I clean away old solder, flux, electrolyte residue and contamination. The bare pads are then visible for inspection. If a pad is dark, loose or no longer electrically sound, that needs dealing with before a new component hides it again.
4. Fit the complete replacement set—including the keypad-board capacitor
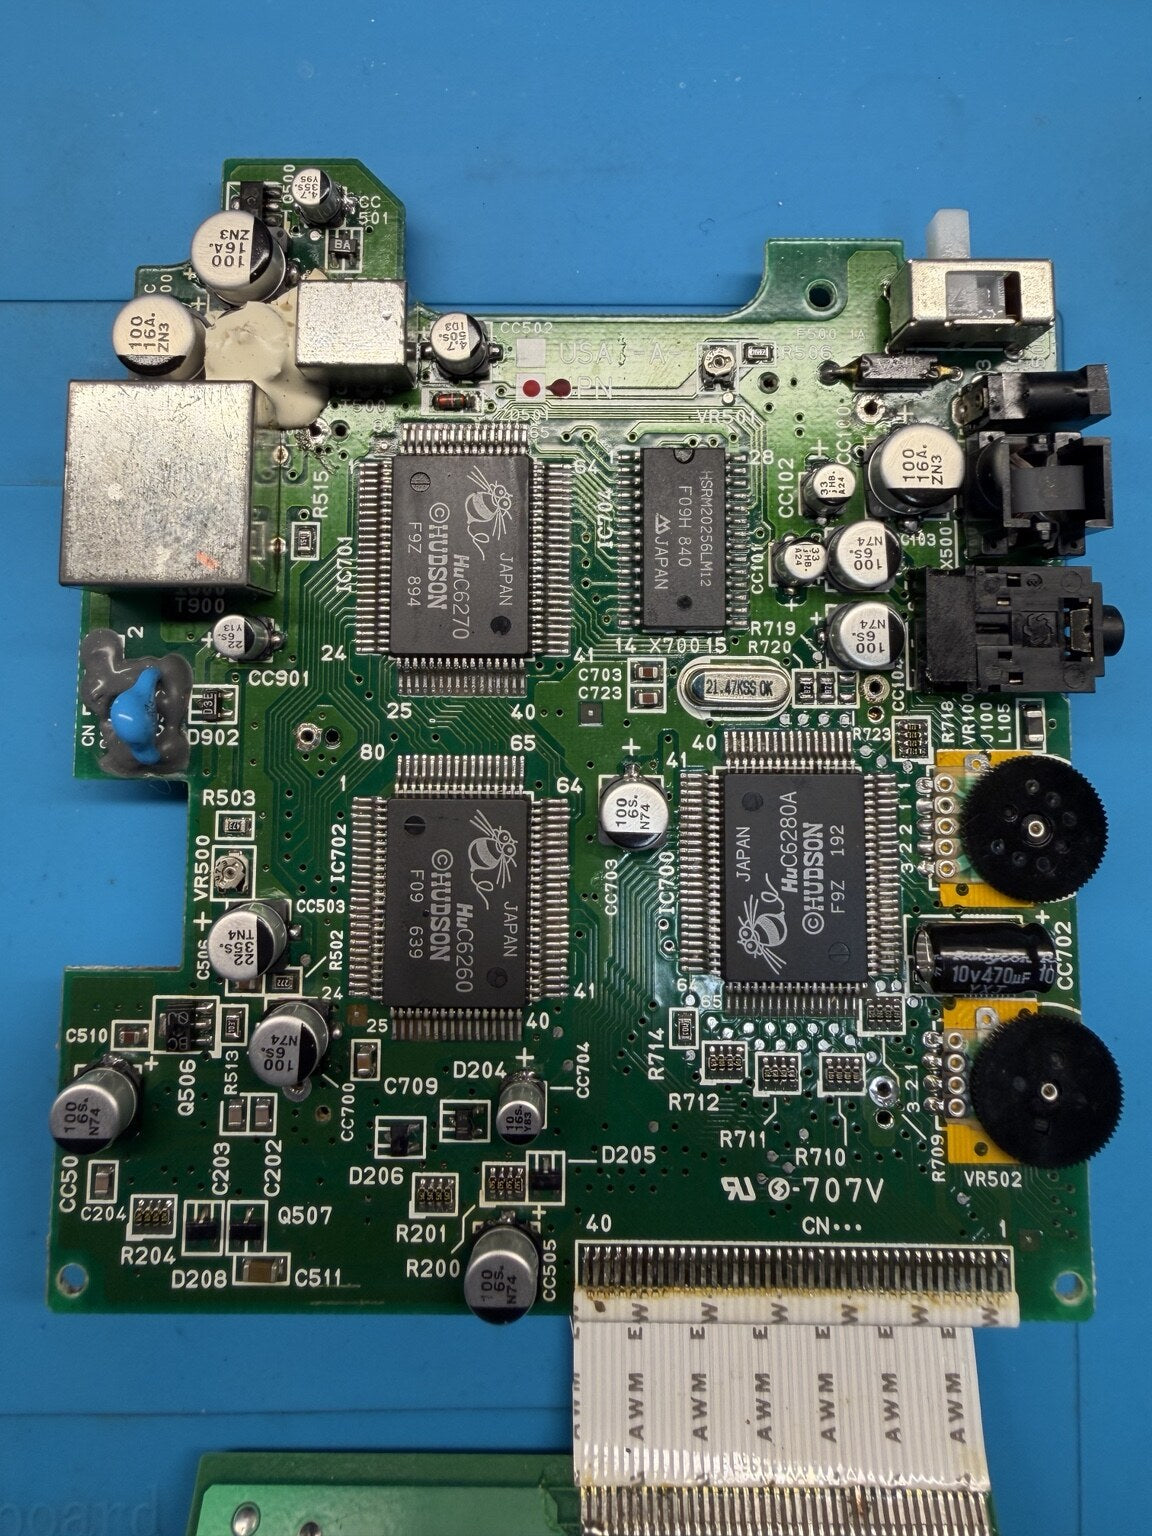
I replace the relevant ageing electrolytic capacitors with quality components of the correct capacitance, suitable voltage rating, polarity and physical fit. The small capacitor on the front control/keypad board is included; it is easy to overlook if somebody concentrates only on the obvious capacitors on the main board.
Component positioning matters. The finished board should be neat, mechanically secure and capable of being reassembled with its original shields and enclosure—not left in a state that only works while it is open on the bench.
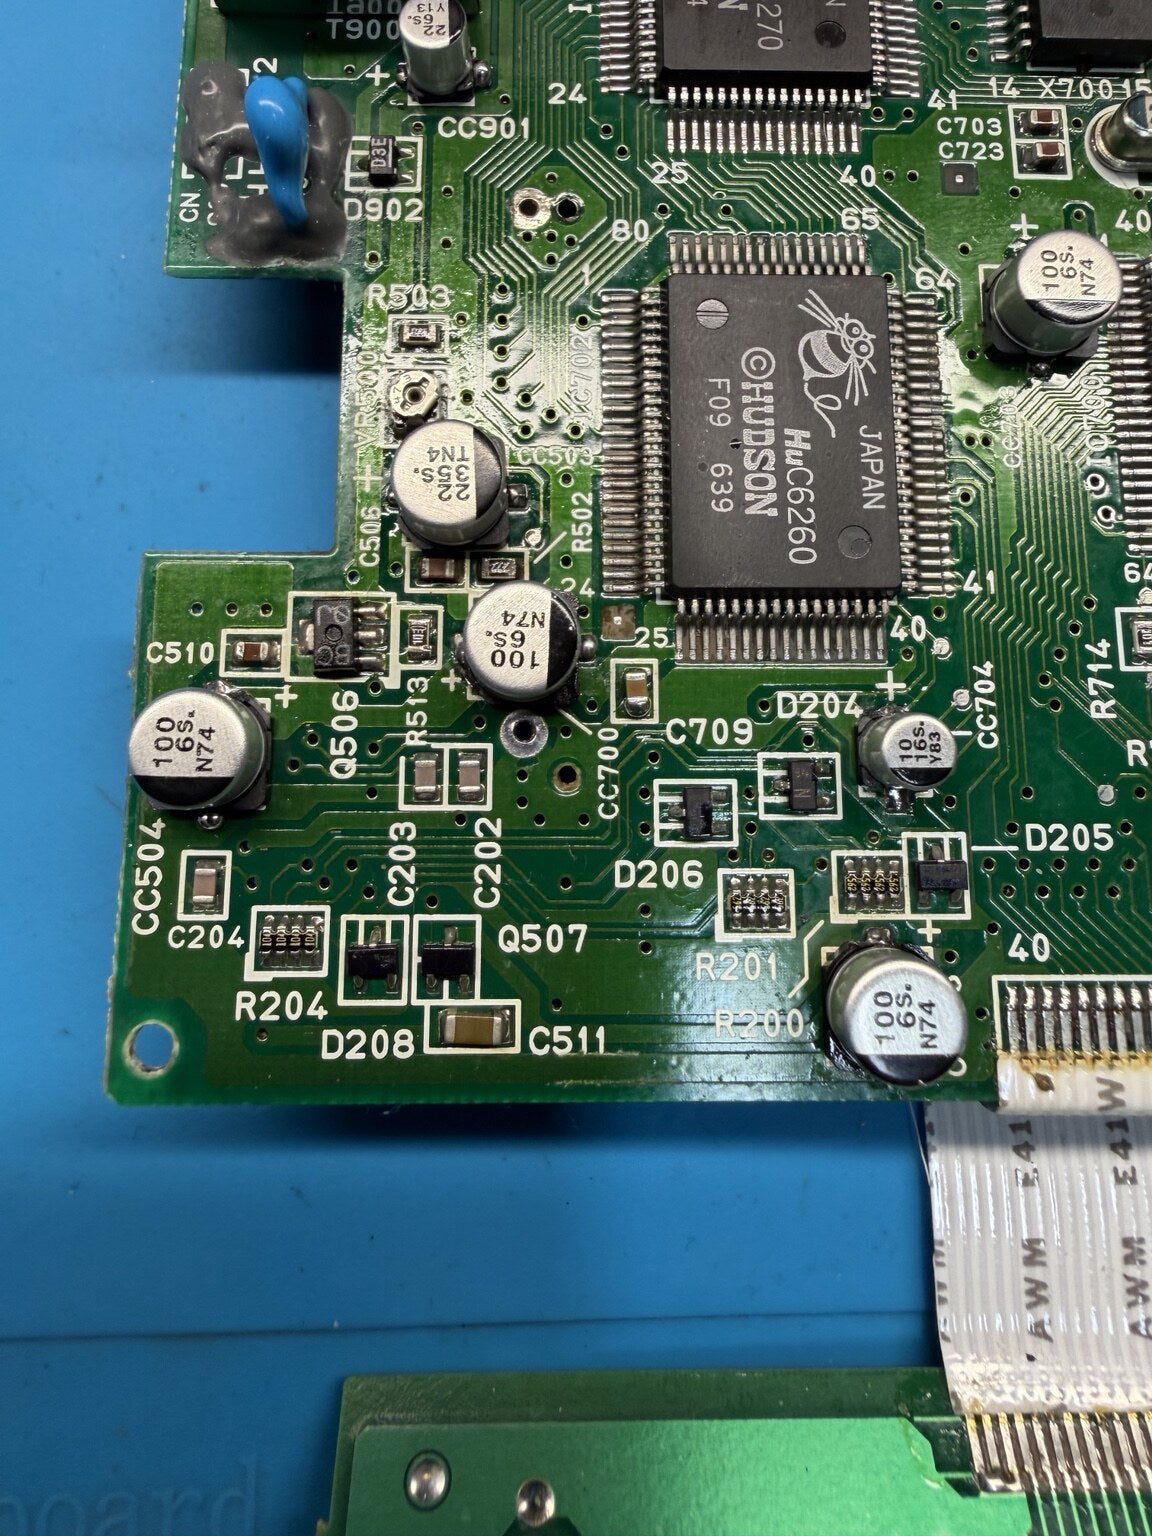
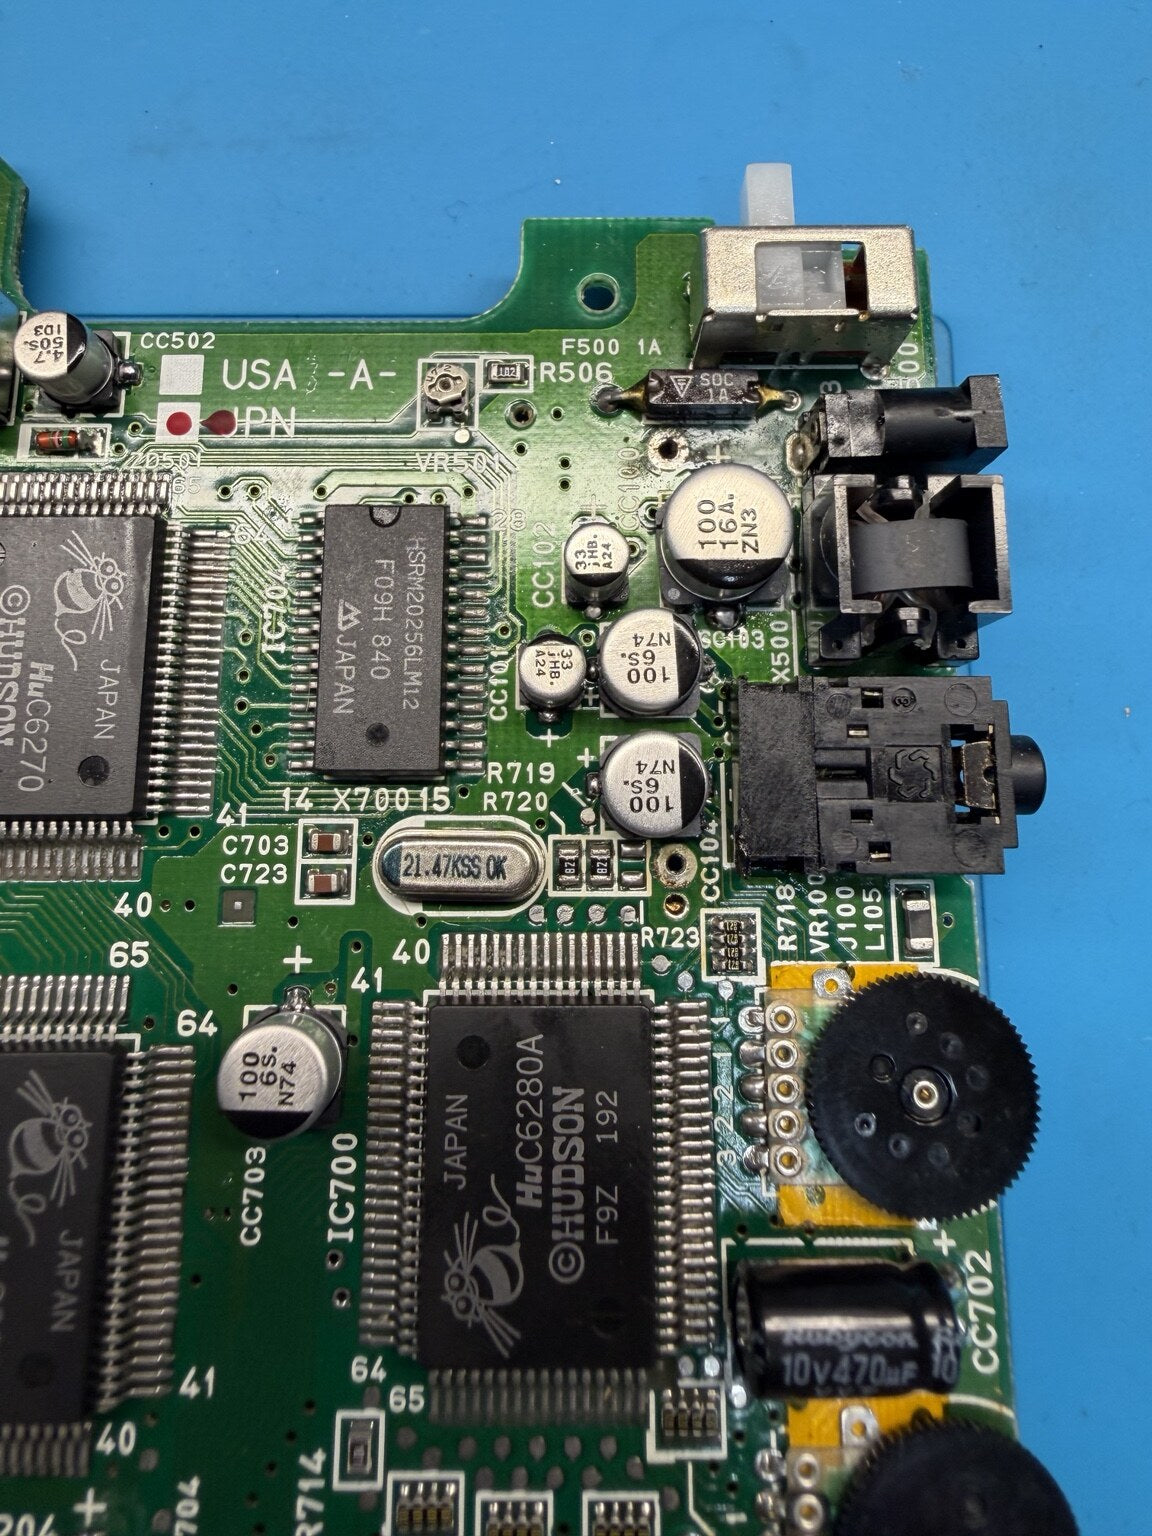
5. Carry out the jail-bar reduction fix
As part of my service I also fit the established additional ceramic capacitors used for the PC Engine GT jail-bar reduction modification. These improve local decoupling around the video circuitry and can reduce the characteristic vertical banding seen on some systems.
I describe it as a jail-bar reduction fix, not a guarantee that every screen imperfection will disappear. A failing original LCD, backlight problem or unrelated video-circuit fault needs separate diagnosis.
6. Refit the original metal shields
The metal shields are part of the console’s original construction. I refit them after the board work is complete. That may sound obvious, but I have seen previously worked-on units arrive with shields omitted—presumably because leaving them out makes future access easier.
I do not regard that as a finished repair. The console should go back together with the correct original parts wherever they remain serviceable, maintaining the intended shielding, mechanical support and internal clearances.
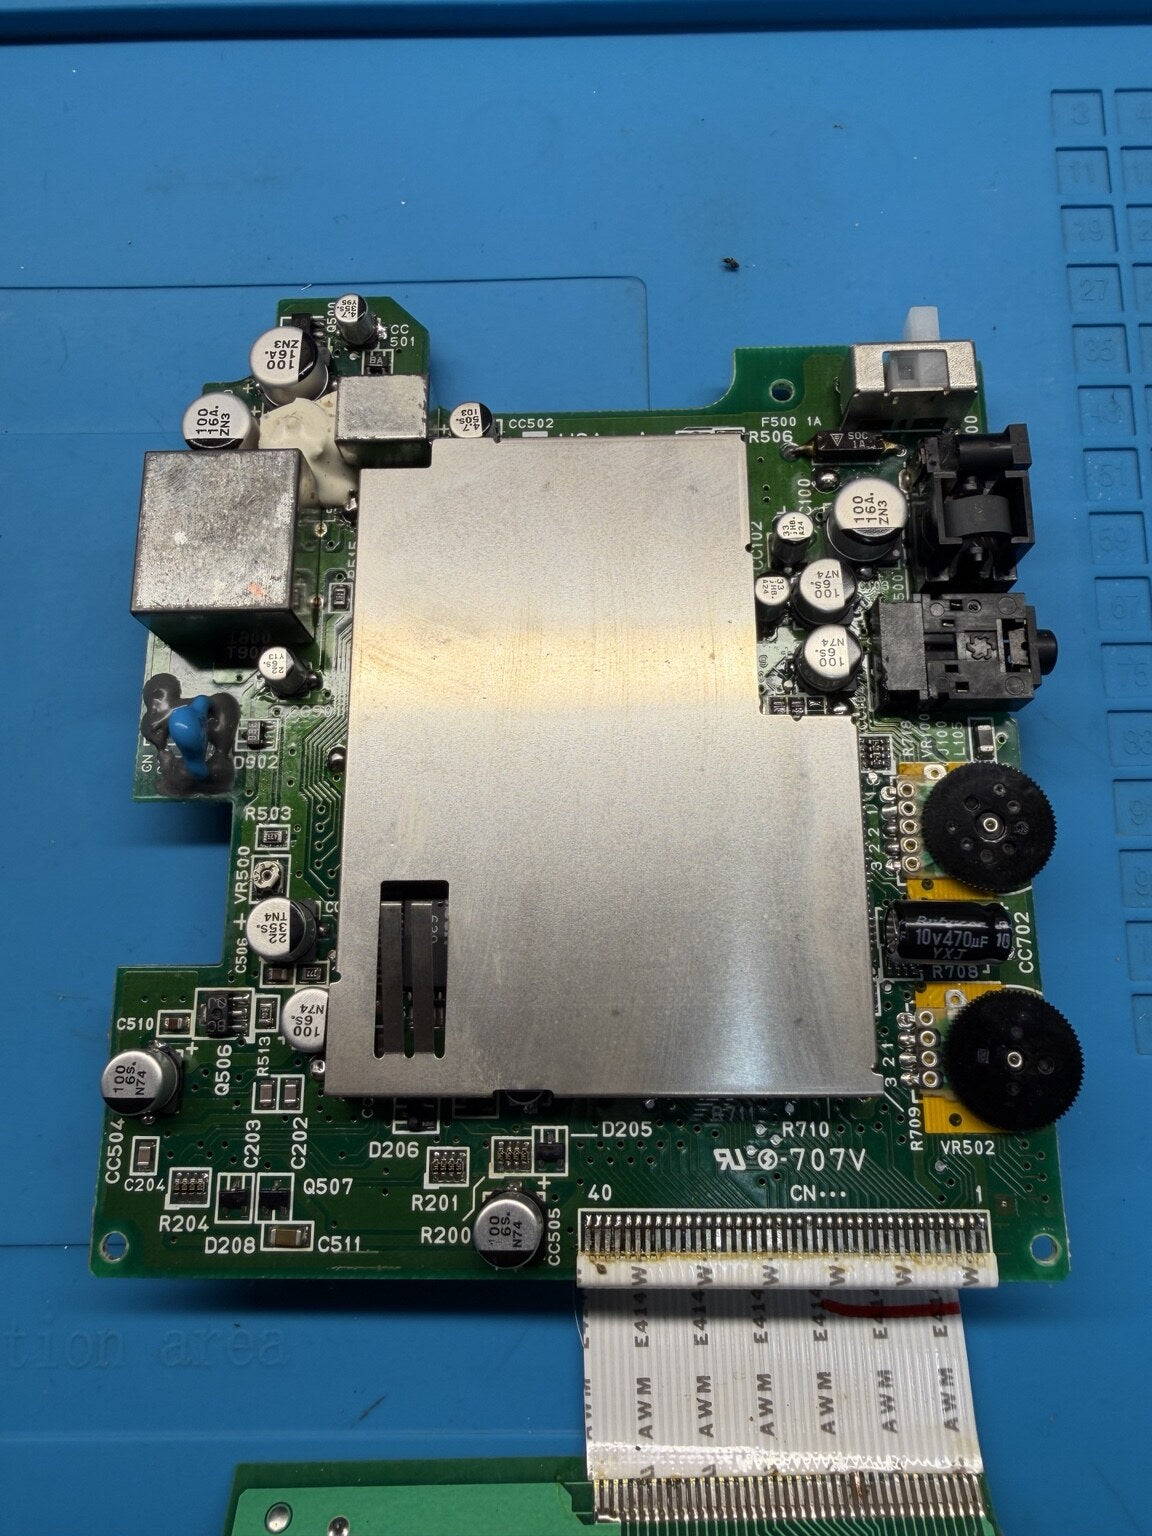
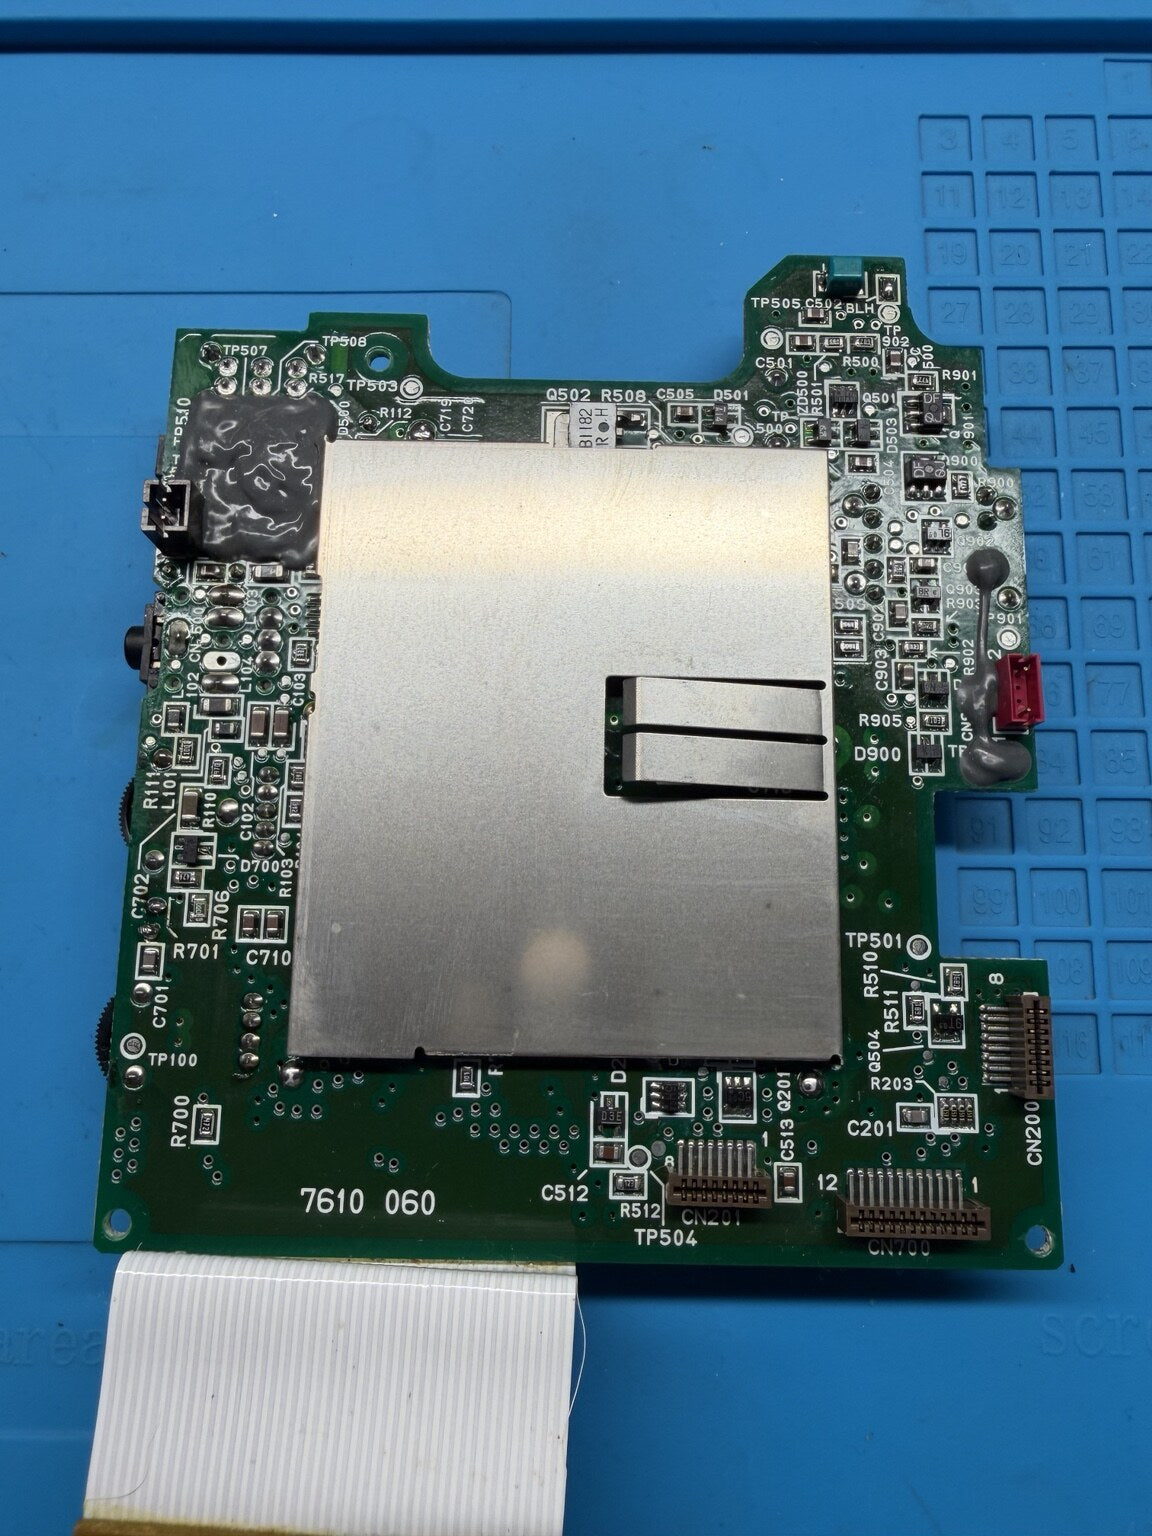
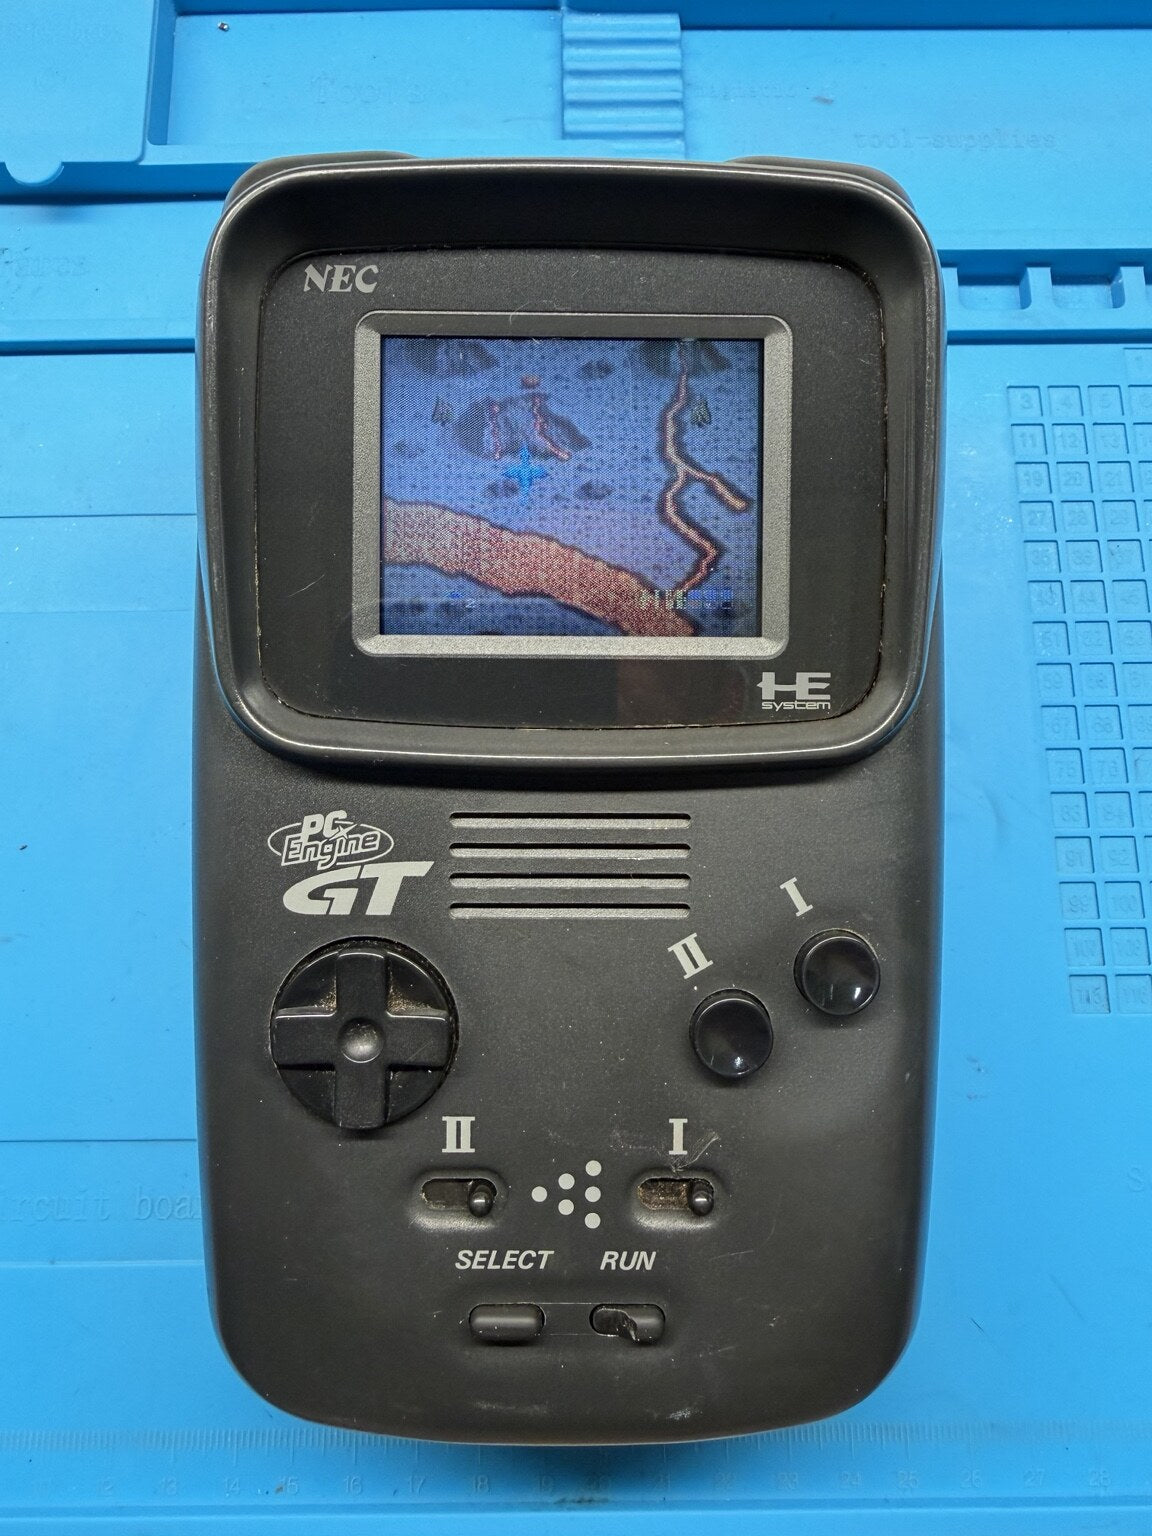
7. Reassembly and real-game testing
After reassembly I test power, controls, cartridge loading, picture and sound with a known-working HuCard/game. That is why I ask customers to include a known-working game where possible: it lets me verify the console with hardware already known to suit that owner’s system and region.
What a recap can—and cannot—repair
A recap addresses the original electrolytic capacitors, their leakage and capacitor-related electrical deterioration. It can restore faults such as missing audio or unstable video when those symptoms are actually caused by the old components.
It cannot guarantee recovery from severe corrosion, broken tracks, lifted or missing pads, a failed LCD, backlight faults, damaged connectors or defective custom chips. If I find work outside the booked service, I document it and contact the customer before carrying out anything chargeable. No additional repair is added without approval.
Is a preventative recap worthwhile on a working console?
For an original-cap PC Engine GT/TurboExpress, my answer is yes. These are valuable, increasingly scarce handhelds, and their capacitor-leakage reputation is not theoretical. A working screen and working sound only prove what the console is doing today; they do not show the condition underneath each capacitor.
The best preventative candidate is often the clean, working console: it gives the technician the chance to remove ageing parts, clean early residue and preserve healthy pads before the job becomes corrosion repair. There is still risk in any work on old hardware, so the standard of removal, cleaning and inspection matters just as much as the choice of replacement parts.
What to send for the UK mail-in service
Send the PC Engine GT or TurboExpress console itself. If possible, include one known-working game for final cartridge, video and in-game audio testing. Include a note with your name or order number and a brief description of any symptoms. Do not send batteries, the power supply, TV tuner or other accessories unless previously agreed.
Use a sturdy box with cushioning around every side. These are rare handhelds and a padded envelope is not suitable protection.
Book a PC Engine GT / TurboExpress recap
The FrameRate Builds service includes the full capacitor replacement, thorough pad and board cleaning, keypad-board capacitor, jail-bar reduction fix, shield refitting and complete functional testing.
View the recap service How mail-in repairs workFrequently asked questions
Are the PC Engine GT and TurboExpress the same for this service?
They are regional versions of NEC’s handheld PC Engine hardware and are covered by the same service listing. Final parts and board details are confirmed from the console itself after arrival.
Will new capacitors improve the original screen?
They can correct capacitor-related picture faults, but they do not turn the original LCD into a modern display and cannot repair a physically failed LCD panel. The original screen is assessed as part of functional testing.
Why clean the pads if the console still works?
Because electrolyte and contaminated solder can remain underneath the original capacitors. Removing the parts creates the only proper opportunity to clean and inspect those areas before replacements cover them again.
Do you replace only visibly leaking capacitors?
No. This is a full recap service. Visible leakage is not a reliable way to judge every capacitor, and replacing only the worst-looking components leaves other same-age electrolytics in place.
Do you leave the shields off?
No. Serviceable original shields are refitted as part of reassembly.
Is the jail-bar fix included?
Yes. The additional ceramic-capacitor jail-bar reduction modification is included, while recognising that unrelated LCD or video faults require separate diagnosis.
About the author and photographs
Anthony O’Brien is the owner and repair technician at FrameRate Builds in Wakefield, West Yorkshire. The photographs in this article were taken during an actual PC Engine GT recap on the FrameRate Builds workbench and show the original capacitors, cleaned pads, completed replacement work, refitted shielding and final game testing.
This article explains the workshop process used for the service; it is not a generic manufacturer guide or a claim that capacitors are the cause of every PC Engine GT fault.
Browse the complete retro console recap catalogue → | Read the general console recapping guide →
Technical reference: specialist PC Engine GT documentation records the platform’s electrolytic-capacitor locations and treats replacement as important preventative maintenance. See the PC Engine GT capacitor reference and TurboExpress/PC Engine GT component-set reference.